Creating a captivating home theater experience doesn’t always necessitate breaking the bank. In fact, one of the most critical components, the projector screen, can be crafted at home with a little creativity and resourcefulness. Whether you’re aiming for a basic setup or seeking to push the boundaries of DIY ingenuity, there’s a projector screen solution suited to your needs.
Creative DIY Projector Screen Ideas
Retractable Screen:
Looking to maximize space in your home theater? Consider crafting a retractable projector screen using readily available materials like PVC pipes and blackout cloth. Begin by measuring the desired screen size and cutting the PVC pipes to fit. Assemble the frame using elbow joints and T-joints, ensuring it’s sturdy and square. Next, attach the blackout cloth to the frame using adhesive or staples, ensuring it’s taut and free from wrinkles. Install hooks or brackets on the wall or ceiling to support the screen, allowing for easy retractability when not in use. With this DIY solution, you can enjoy a seamless viewing experience without sacrificing precious space.
Upcycled Materials:
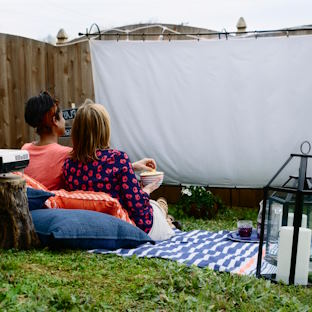
Transforming ordinary household items into a projector screen is not only eco-friendly but also incredibly inventive. Raid your linen closet for old bed sheets, scour the bathroom for unused shower curtains, or repurpose worn-out window blinds. Simply attach the chosen material to a sturdy frame, such as a wooden frame or even a clothesline, ensuring it’s stretched tightly to avoid any wrinkles or creases. The versatility of upcycled materials allows for customization in size and shape, making it an ideal solution for unconventional viewing spaces or temporary setups. Get creative with your choices and let your imagination run wild as you turn everyday items into a unique projector screen masterpiece.
Custom Frame Screen:
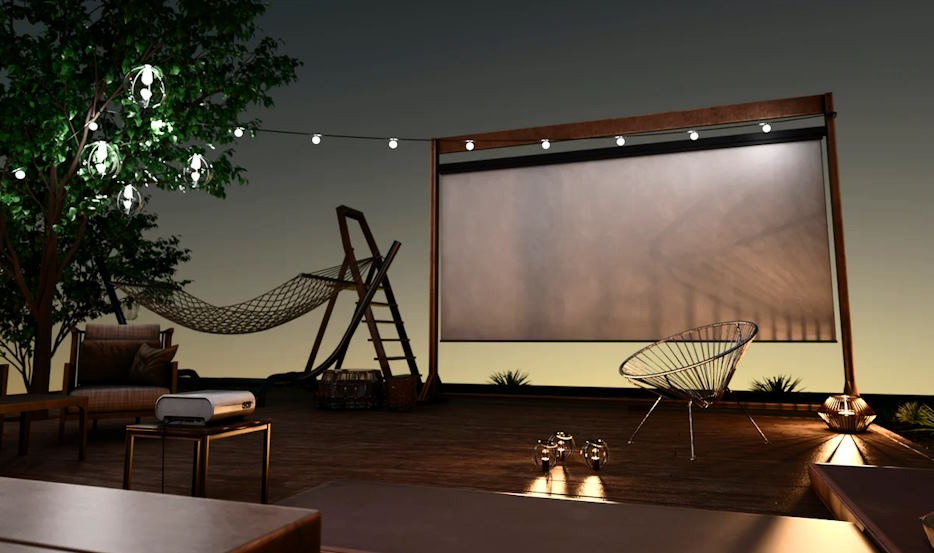
For those seeking a more polished and professional look, constructing a custom frame screen offers endless possibilities. Utilizing materials like wood or PVC pipes, build a frame to your desired dimensions, ensuring it’s square and sturdy. Stretch a high-quality projector screen fabric over the frame, securing it tightly with staples or adhesive. Add finishing touches such as trim or paint to enhance aesthetics and conceal any imperfections. The beauty of a custom frame screen lies in its versatility and durability, providing a long-lasting solution for your home theater needs. Let your craftsmanship shine as you create a personalized projector screen that’s as functional as it is stylish.
Advanced DIY Projector Screen Ideas
Ambient Light Rejecting (ALR) Screen:
Ambient light can significantly impact the viewing experience in a home theater setup, but with an Ambient Light Rejecting (ALR) screen, you can enjoy crisp, vibrant images even in brightly lit environments. ALR screens utilize specialized materials to reflect light from the projector while absorbing ambient light, resulting in improved contrast and brightness. While commercial ALR screens can be costly, DIY enthusiasts can achieve a similar effect using innovative methods and materials. Explore options like ALR paint or ALR fabric, which can be applied to a suitable surface or stretched over a custom frame to create your own ALR screen at a fraction of the cost. With a DIY ALR screen, you can elevate your viewing experience without breaking the bank.
Curved Projector Screen:
Enhance your immersion and viewing angles with a curved projector screen, a popular choice among home theater enthusiasts seeking to replicate the cinematic experience. Building a curved projector screen may seem daunting, but with the right guidance, it’s entirely achievable as a DIY project. Begin by constructing a frame using flexible materials like PVC pipes or lightweight wood, shaping it into a gentle curve. Stretch a high-quality projector screen fabric over the frame, ensuring it maintains its curvature for optimal viewing. The curved design helps to eliminate image distortion and provides a more uniform viewing experience, making your home theater feel like a true cinematic escape.
Motorized Retractable Screen:
For the ultimate in convenience and sophistication, consider constructing a motorized retractable projector screen with remote control functionality. While commercial motorized screens can be expensive, DIY enthusiasts can save a considerable amount by building their own. Start by designing a sturdy frame capable of supporting the screen material and motor mechanism. Install a motorized roller system and attach the projector screen fabric securely. Incorporate a remote control system for seamless operation, allowing you to retract or deploy the screen with the touch of a button. With a DIY motorized retractable screen, you can enjoy the luxury of a professional-grade home theater experience without the hefty price tag.
Tips for Enhancing DIY Projector Screens
Proper Screen Size and Aspect Ratio Selection:
 Choosing the right screen size and aspect ratio is crucial for optimizing your viewing experience. Consider factors such as the viewing distance, room size, and projector specifications when determining the ideal screen size. Additionally, ensure the aspect ratio matches that of your content to avoid stretching or cropping issues. Take measurements carefully and research recommended screen sizes for your setup to achieve the best possible results.
Techniques for Achieving a Smooth Surface and Avoiding Wrinkles:
A smooth surface is essential for maximizing image quality and minimizing distractions during viewing. When constructing or installing your DIY projector screen, take care to eliminate any wrinkles or creases. Stretch the screen fabric tightly over the frame and secure it evenly to prevent sagging or distortion. Use a heat gun or gentle tensioning to remove wrinkles, and consider using tensioning systems or weights to maintain tension over time.
Calibration and Optimization for Best Image Quality:
Once your DIY projector screen is in place, take the time to calibrate and optimize your projector settings for optimal image quality. Adjust parameters such as brightness, contrast, color temperature, and sharpness to achieve a balanced and vibrant image. Utilize calibration tools or software for more precise adjustments, and regularly check and update settings as needed to maintain optimal performance.

